Learning Objectives
- Students will be able to demonstrate an understanding of color theory.
- Students will be able to demonstrate an understanding of basic three dimensional terminology.
- Students will be able to demonstrate a basic understanding of the techniques involved with soft sculptural forms.
Materials
- Fabric (bright, solid colors or patterns)
- Needle
- Scissors
- Thread
- Stuffing materials
- Tape Measure
- Seam Ripper
- Marking Chalk
- Thimble
- Safety Pins
- Pin cushion
Mini Assignments
Part 1 – Take Notes in your sketchbook from the color theory section found here.
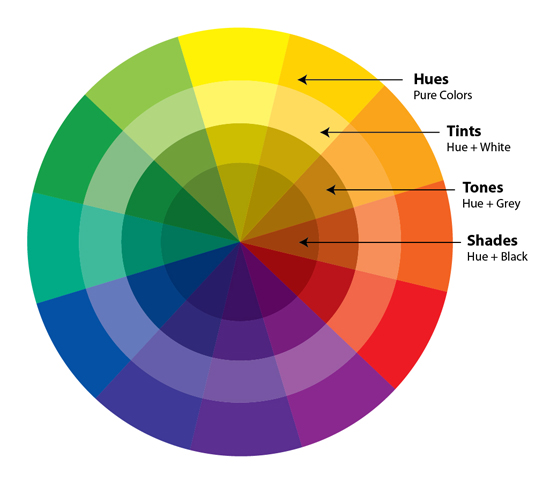
Part 2 – For the second part of the project create a color wheel using colored pencils, markers, paint or digitally. You will need to include primary, secondary and tertiary colors. The color wheel should include the hue, a tint, a shade, and a tone. Use the image below as a reference.
Part 3 – In your sketchbook create an example of each of the following color groupings – complementary, split complementary, analogous, triadic, cool and warm colors. Try to avoid red / green, blue / orange combinations. You may use the same materials that used to create your color wheel in Part 2 above.
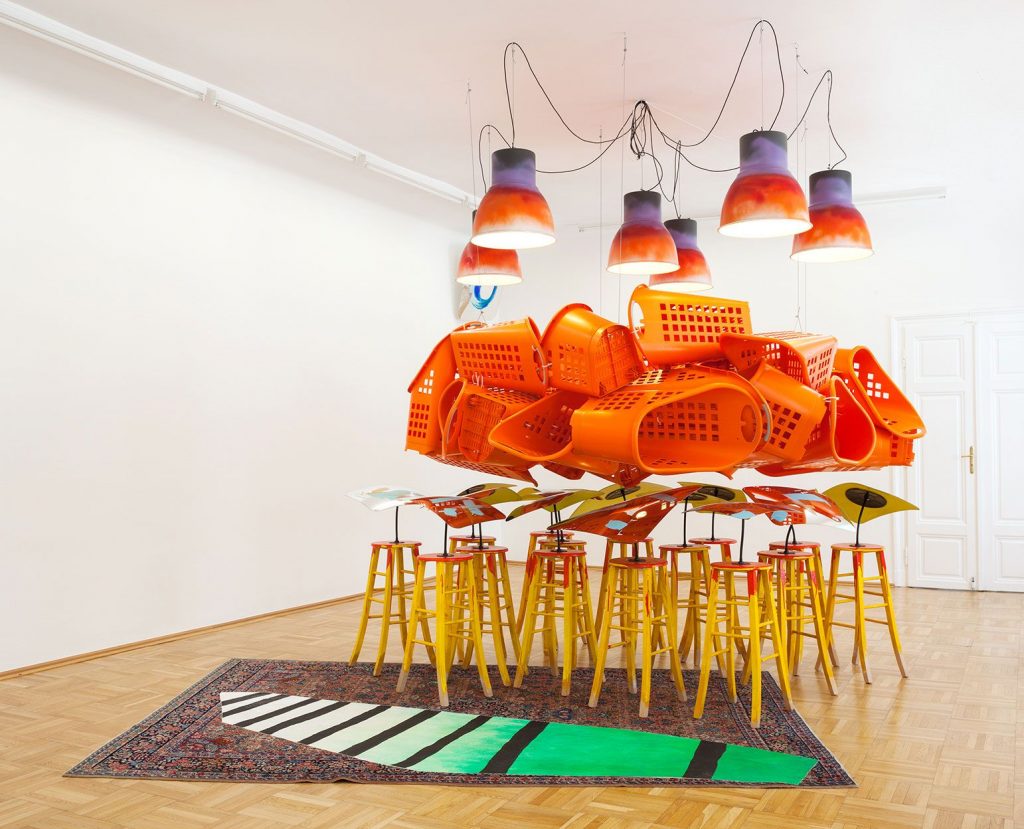
Part 4 – Using found objects, create 3 color combinations based off the color groupings listed in Part 3 above. Photograph these color groupings and add them to your Google Sketchbook. Example of Jessica Stockholder‘s work below.
Important Terminology
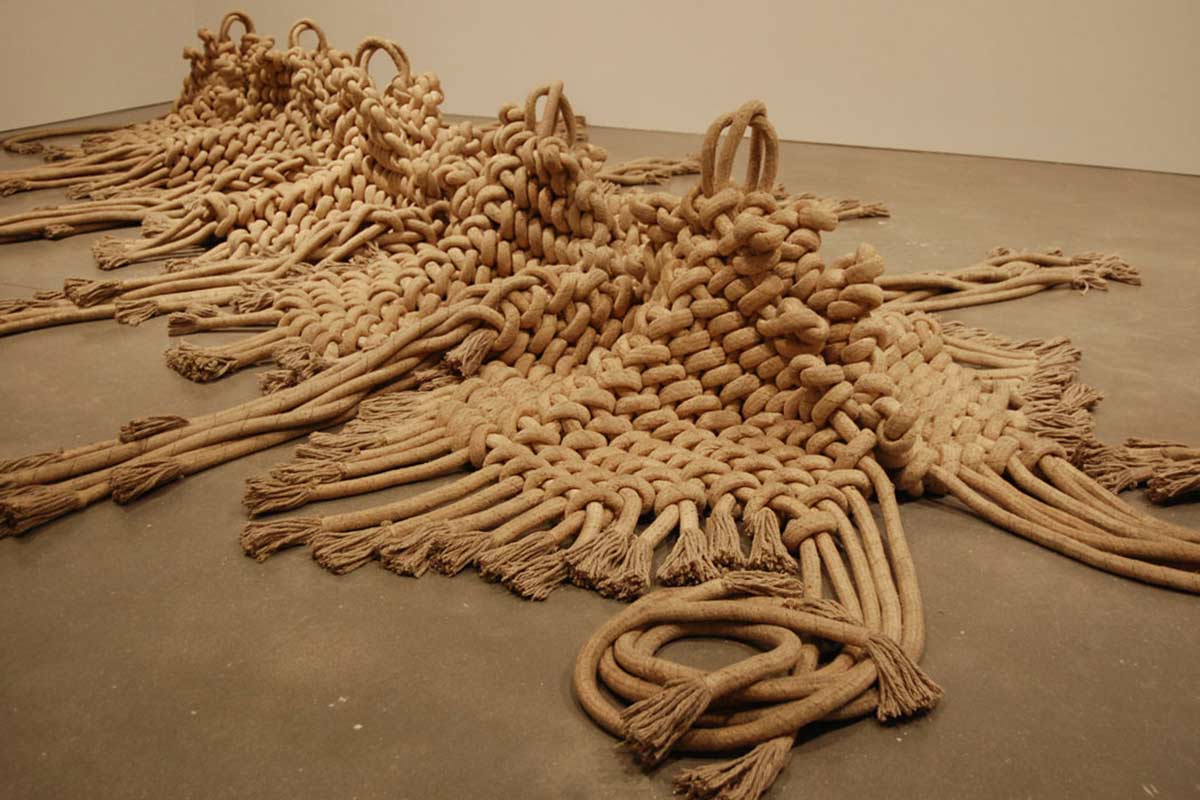
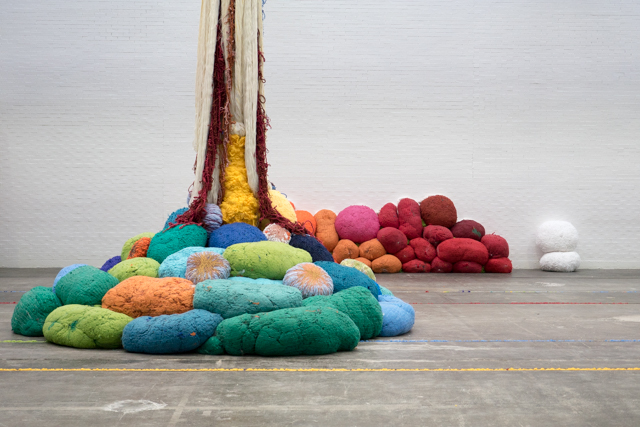
- Soft Sculpture – Sculptures composed of soft materials, such as rubber, latex, or cloth. Such works undermine traditional ideas about sculpture, namely that it be durable and made from “noble” materials like marble or bronze.
- Fiber Arts – A style of fine art which uses textiles such as fabric, yarn, and natural and synthetic fibers. It focuses on the materials and on the manual labor involved as part of its significance.
- Craft – Fine art has no functional aspects, whereas craft is utilitarian, usually with an artistic style/skill. A craftsman creates items that may have great beauty and take much skill, but are meant to be used in some way. This definition is now considered outdated but there are still issues within this distinction that are worth discussing.
- Women’s Work – work traditionally and historically undertaken by women, especially tasks of a domestic nature such as cooking, needlework, and child rearing.
- Feminist Art – Art that seeks to challenge the dominance of men in both art and society, to gain recognition and equality for women artists, and to question assumptions about womanhood. Beginning in the 1960s and 1970s, feminist artists used a variety of mediums—including painting, performance art, and crafts historically considered “women’s work”—to make work aimed at ending sexism and oppression and exposing femininity to be a masquerade or set of poses adopted by women to conform to societal expectations.
Major Assignment
For this project you have the choice of 1 of 3 different prompts:
- Create a sculptural interpretation of something you want, but you cannot have (for whatever reason – cost, location, etc) – be ready to explain your choices
- Create a sculptural interpretation of something you both love and hate – be ready to explain your choices
- Create a sculptural trophy – be prepared to explain what it is a trophy for, and why it looks the way it does.
Whichever prompt you choose you must consider both the texture of the fabric, the objects you make with the fabric and the color choices you use. The finished work can be one large piece or several smaller pieces that work together as a whole. The fabric (ANY fabric) can be stuffed with fiber fill (a limited amount provided) or any other material (think outside the box – sand, beans, wire, etc.) The minimum size is 3′ x 3′ x 3′.
- Research/Brainstorm: Find at least 5 artists working with fabric/fibers/soft sculptures that intrigue you. Add them to your Google Sketchbook. In your paper sketchbook, create at least 5 thumbnail sketches for 5 different ideas for your project. We’ll share the research/thumbnails in class. Be sure to think about the tools available – how do they help and limit you? Add these sketches to your Google Sketchbook.
- Sketches/Narrowing Ideas: Having heard everyone else’s ideas and research, sketch out 2 ideas in greater detail (devote at least 1 whole sketchbook page to each of these ideas – fill the page – draw large). We will share these refined ideas in class.
- Select idea and begin working: Once you select your idea, you can begin working. Each student will get a set amount of materials; anything beyond that is the responsibility of the student. We will have in-process critiques – see schedule for dates.
- Final Critique: We will hold a final critique of the sculptures
- Document your work. Make sure to get good quality photos with accurate lighting and color to upload to your Google Project Presentation.
- Self-reflection: After the project is over, you will answer the following questions in your Google Project Presentation
- Discuss your work in terms of the components of an artwork. (subject/form/content/context)
- How does the work engage with the elements and principles of 3D design? Make sure to mention specific elements and specific principles.
- How did you use color and texture in your work?
- How was your project successful?
- How could your project be improved?
Research
- Soft Sculpture examples on Artsy
- Types of stitches
- Sackler Center for Feminist Art at the Brooklyn Museum
- Natalie Baxter
- May Wilson
- Katie Stout
- David B Smith
- Do Ho Suh
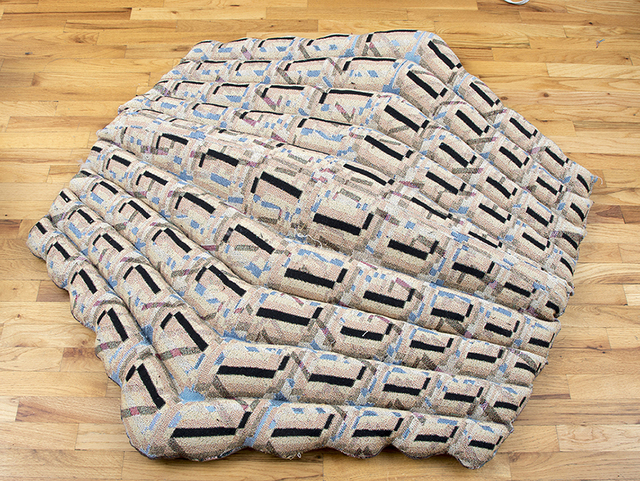
David B. Smith 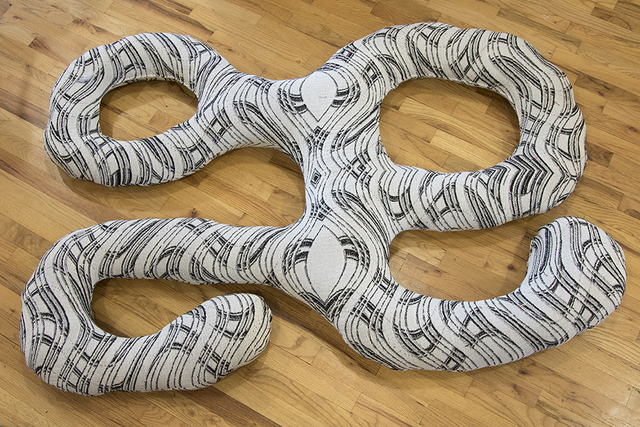
David B. Smith 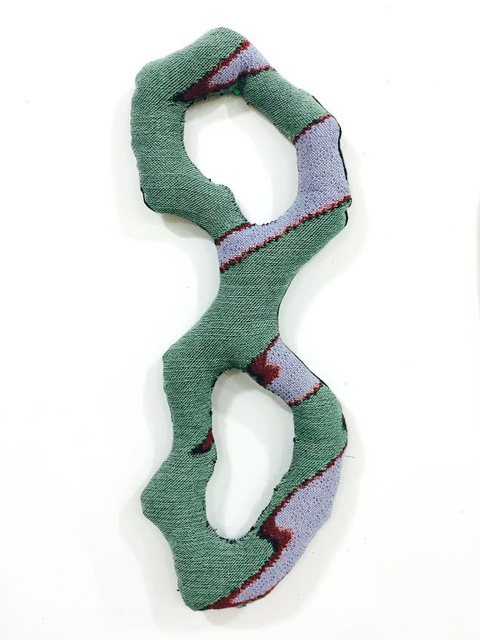
David B. Smith 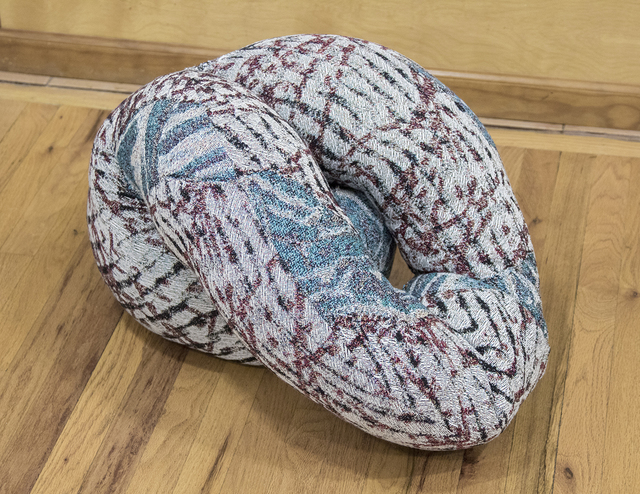
David B. Smith 
Michelangelo Penso 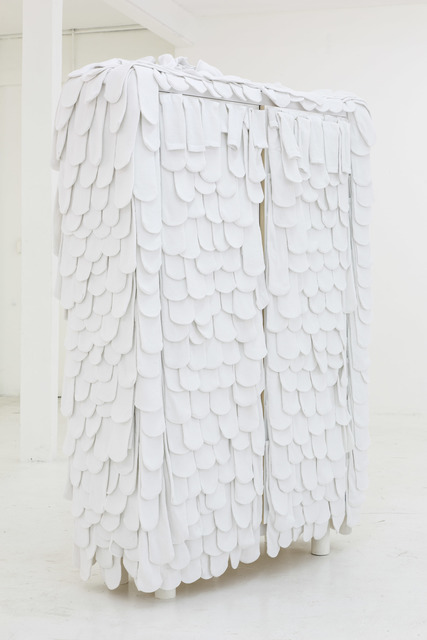
Katie Stout 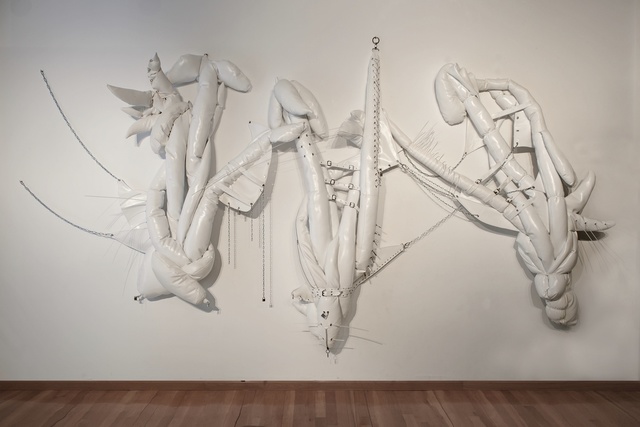
Elio Rodriguez 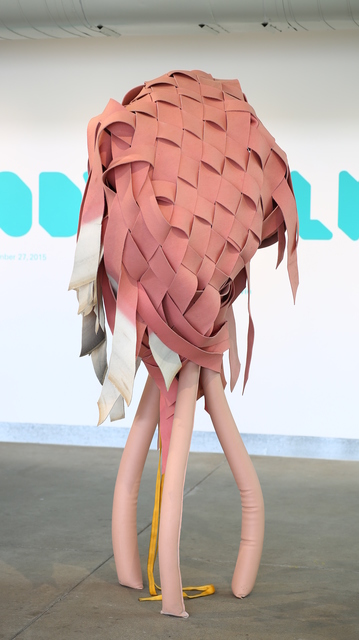
May Wilson 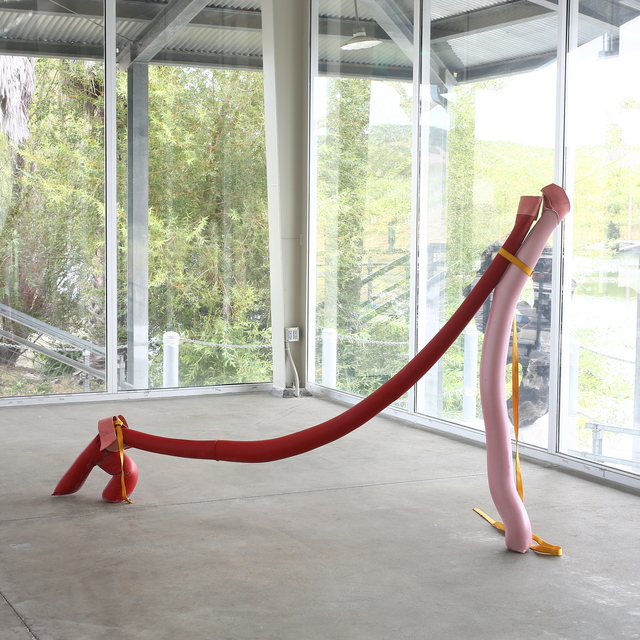
May Wilson 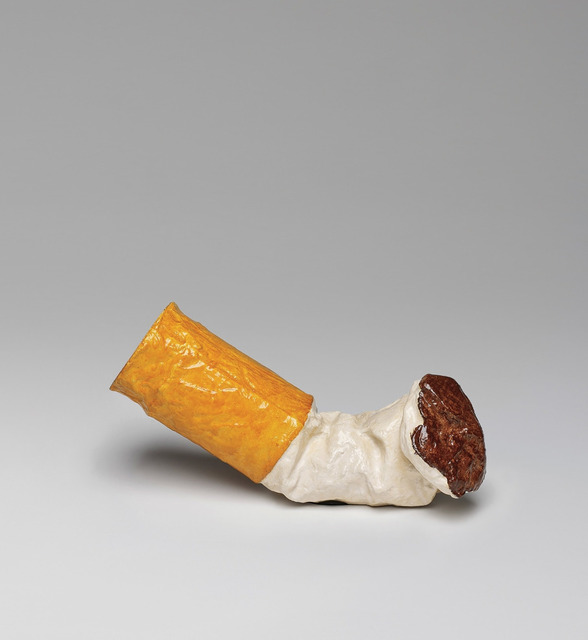
Claes Oldenburg 
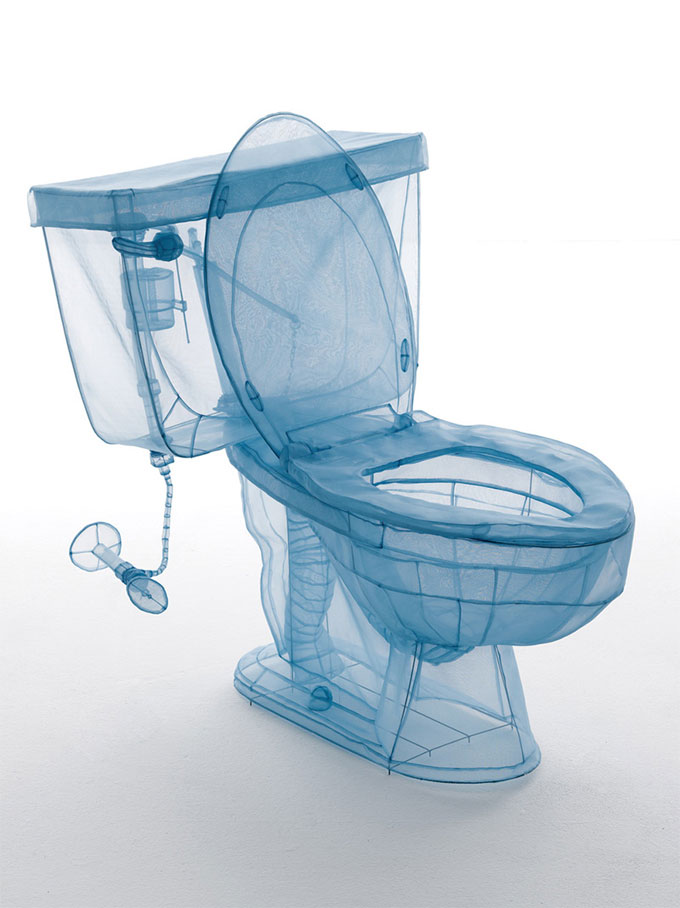
Do Ho Suh