Learning Objectives
- Demonstrate an understanding of the visual elements and principles of design.
- Demonstrate an understanding of additive and subtractive sculpture processes.
- Demonstrate an understanding of texture, harmony and contrast.
Project Overview / Considerations
For this project we will be creating a plaster sculpture that explores texture and value. Plaster is a powder that when mixed with water undergoes a chemical reaction. After a few minutes the plaster and water mixture hardens into a white, chalky material that can be carved and sanded. For this project you will create a plaster sculpture that is at least 12″ by 6″ and embodies two of the texture based words from the chart below.
Terms
- Plaster – a soft mixture of lime with sand or cement and water for spreading on walls, ceilings, or other structures to form a smooth hard surface when dried.
- Additive – Is the process by which material is shaped and built up, frequently on an armature, to create the desired image.
- Modelling – An additive process in which material is steadily built up to produce the finished figure.
- Subtractive – Involves removing material, as in wood carving or stone sculpture, to create a finished work.
Materials
- One box or bag of Plaster of Paris (provided)
- Old metal butter knives
- Dental tools or clay tools (some provided)
- Box for casting (shoe box or larger – heavy cardboard) – at least 12″ by 10″
- Glue gun and glue sticks (may want to bring your own glue gun)
- Small wire brush (provided)
- Old rags or t shirts
- 5 gallon bucket (provided)
- Dry wall sand paper mesh (provided)
- Rasp (provided)
Process
Name these slides Project – Plaster Texture in your Google Slides Presentation.
Part 1 – In your sketchbook
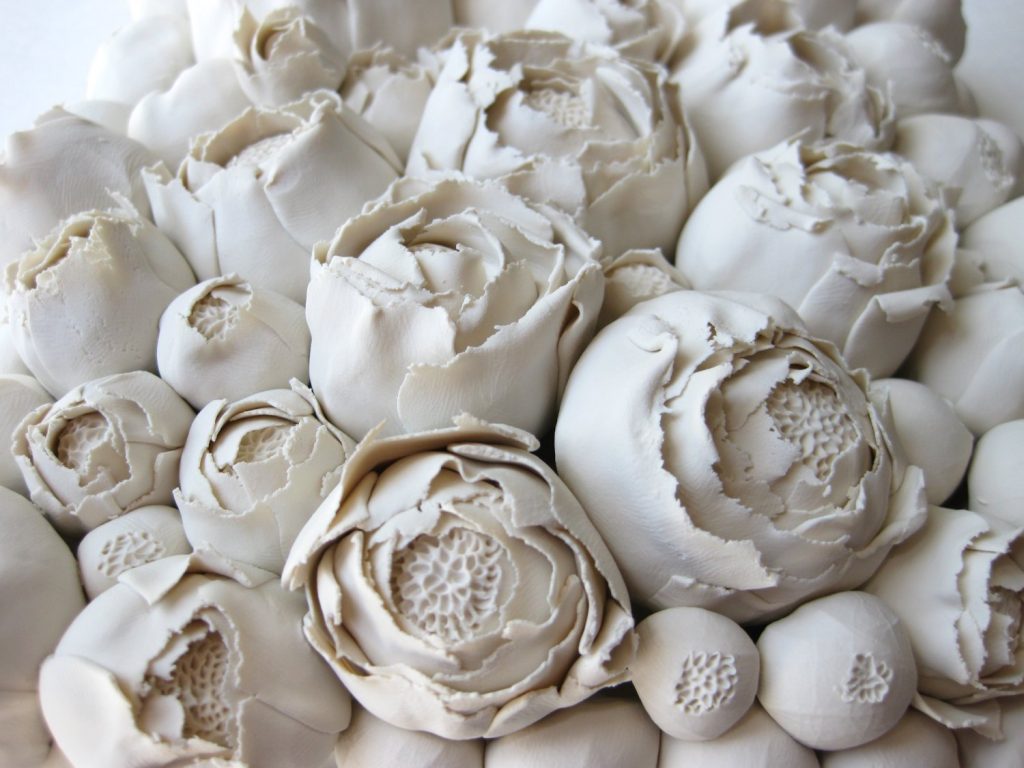
1. Create a grid of 12 squares (3 squares by 4 squares). Fill each square with a different type of texture. Try to draw as much as possible from real life. Use the images below as an example.


Part 1 – In your sketchbook (continued)
2. Watch the videos under the Research section and take notes in your sketchbook.
3. Chose 2 words from the list below, one from column A and one from column B. Once you have chosen your two words, sketch out ways to combine the two different textures into one object. You might have the inside of the object be smooth while the outside is rough, you might juxtapose two different textures or let them merge into something else entirely.
4. Create at least 5 sketches, before coming to class, of your proposed plaster carving that incorporates the 2 words you’ve chosen. What happens if you change the scale or texture? Think about how you will be using the elements and principles before you start.
| A | B |
| embossed | cushioned |
| crocheted | flaky |
| flawed | bumpy |
| gelatinous | furry |
| icy | jagged |
| limp | patterned |
| pointy | pierced |
| sharp | swollen |
| viscous | wooden |
| holey | thorny |
| silky | scraped |
| pocked | pleated |
| ornamented | mosaic |
| knitted | knobbed |
| grainy | feathery |
Part 2 – In the studio
Think about the entire form of the object and how the viewer will interact with it. What will they notice first, second? Will there be an area that is very delicate and another that is very aggressive. How will you allow these two areas to play off of each other? How will light contribute to the work? Will you be able to see through it? What precautions should you take as you work – plaster is extremely fragile.
1. After you have chosen your words and created your 5 sketches, you will need to cast the plaster. Make sure you pay attention tot he process demonstrated in class. If you are still unsure ask questions and / or watch the videos below.
2. Once you have cast your plaster in its container, remove it and immediately start carving. The drier the plaster gets the harder it is to carve (but easier to sand).
3. The plaster will go through multiple stages. Soon after it is mixed it will get hot and start to become hard. At this stage it is fairly easy to carve and rough out larger portions. This is when you will want to take off as much material as possible. As it starts to dry it will get harder to work with and will require smaller tools and more delicate carving techniques. Once the plaster it is completely dry it will become whiter and, using the back of your hand, will not feel cool to the touch. This is when you can sand your plaster to get a nice smooth texture.
4. Photograph your finished sculpture and upload your images to your Google Slide Presentation. For more information on photographing three dimensional works of art, check out the notes here (Documenting Your Work – located under Resources at the top).
- A note on cleaning up. Plaster is messy. Really messy. Do not ever, ever, ever allow plaster to go down the drain. It is like cement and will harden in the pipes. Use the waste bucket first to wash your tools and your hands. Once you are done using your carving tools, scrub them with your wire brush and water in the plaster waste bucket. Once they are clean rinse them with water and DRY them. Always dry your tools or they will rust.
Part 3 – Self Reflection
1. Which 2 words did you choose and how did you use them in your plaster work? How do your two words contrast each other in your work? How do they complement each other (work together)?
2. Which elements and principles of design are most evident in your work? Choose a principle and define how an element (or elements) create that principle.
3. What was most surprising about plaster? What was most frustrating?
4. How does the texture of your piece inform the values seen in your work?
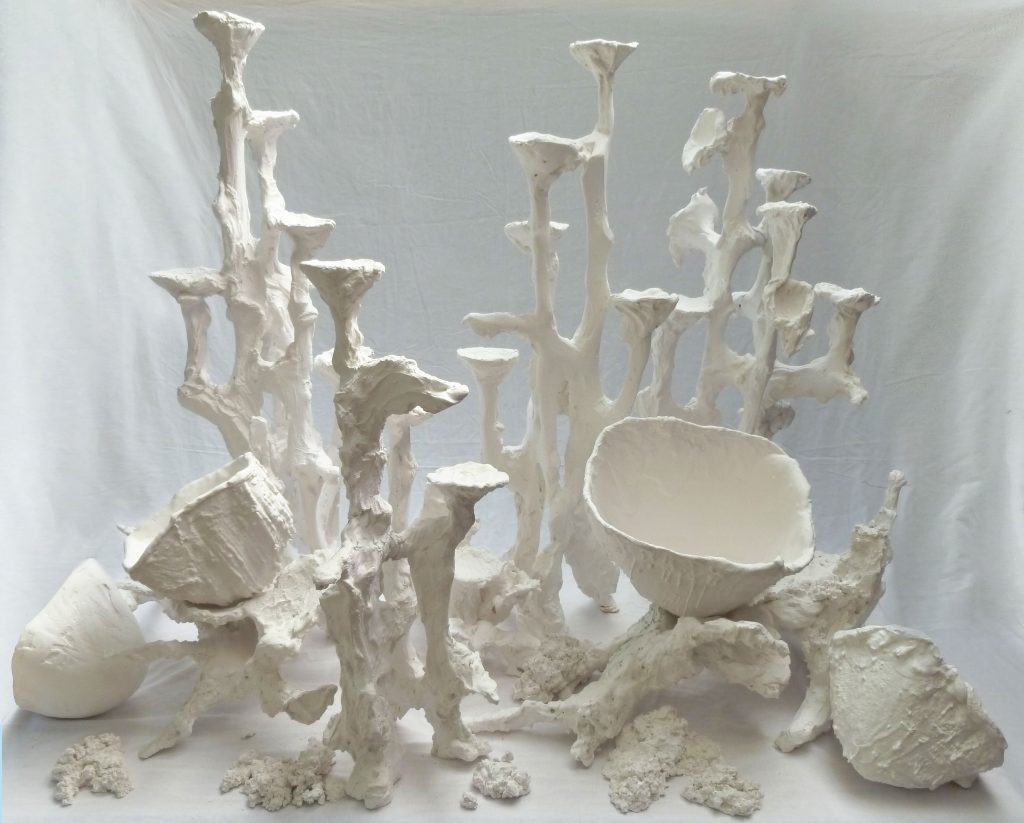
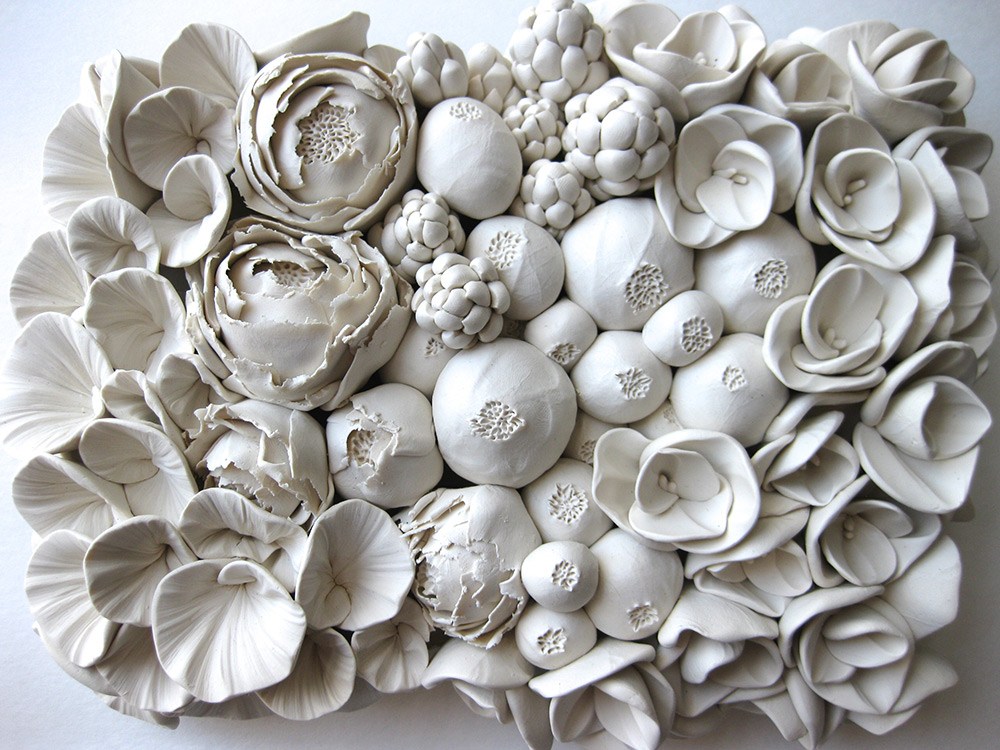
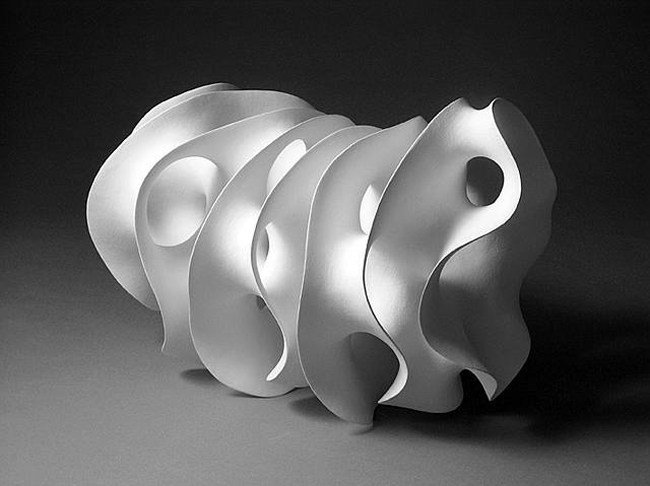
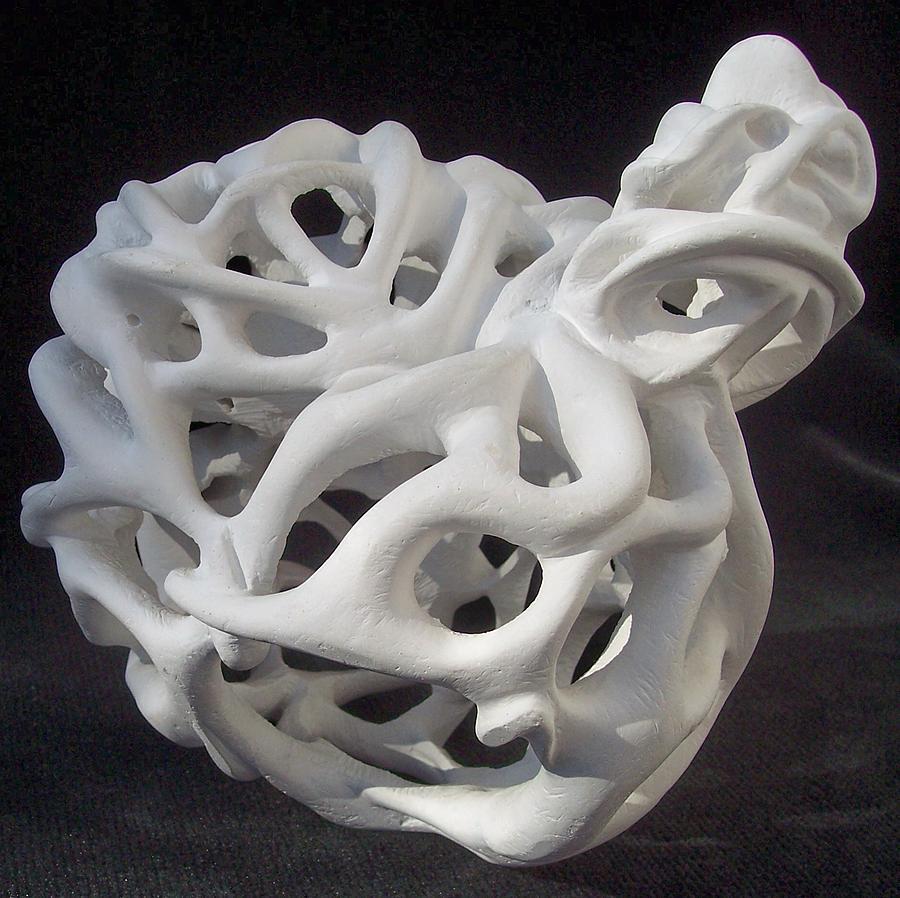
Research
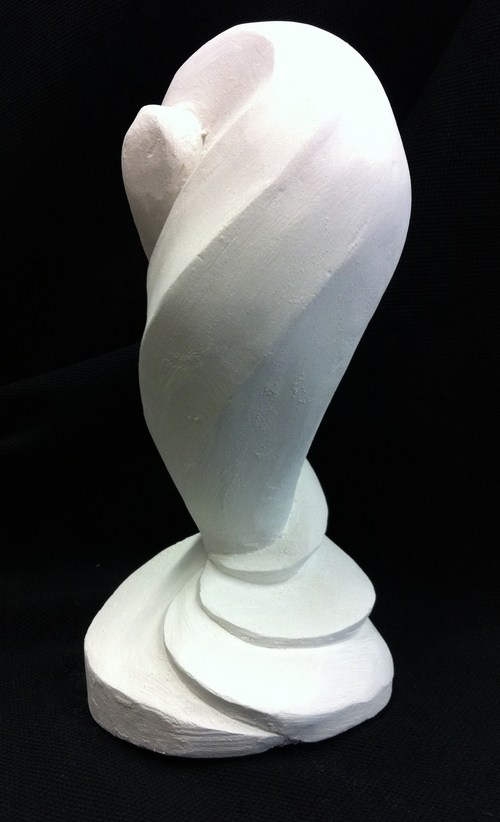
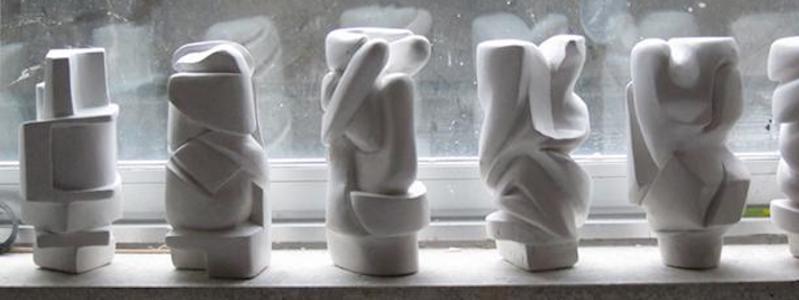
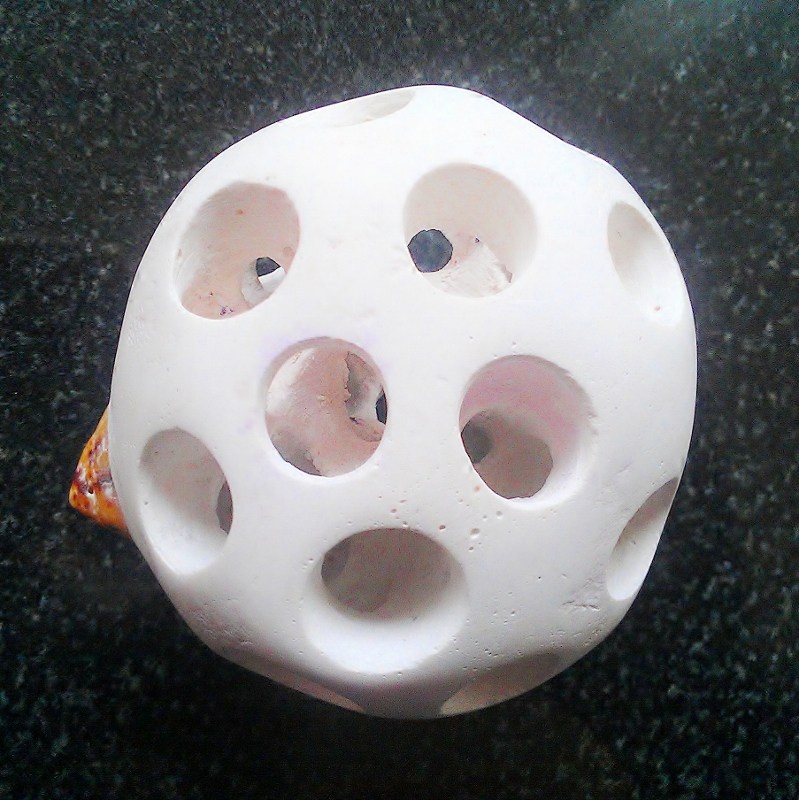
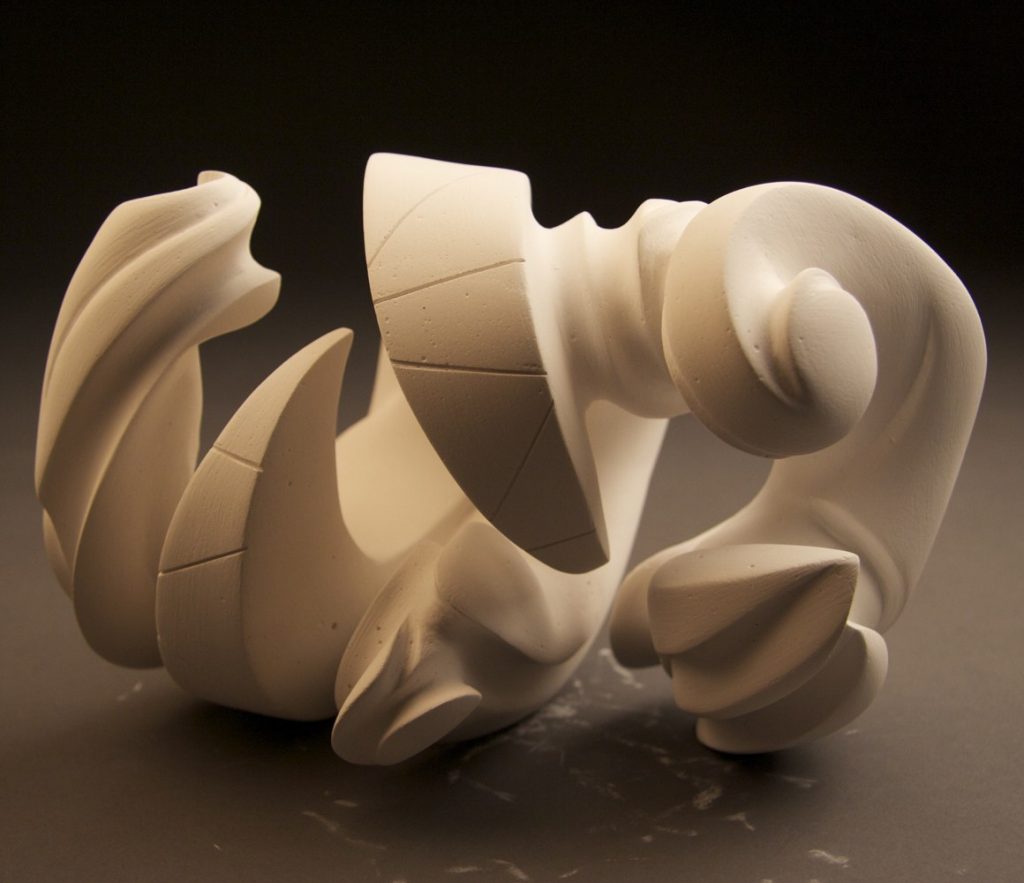
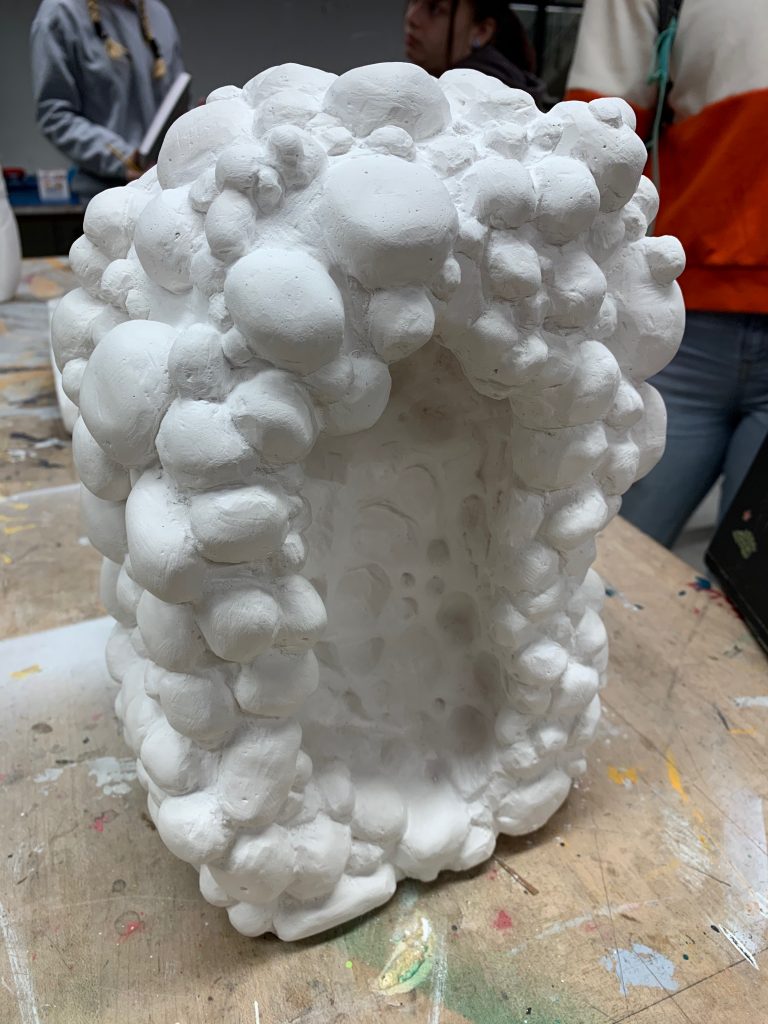
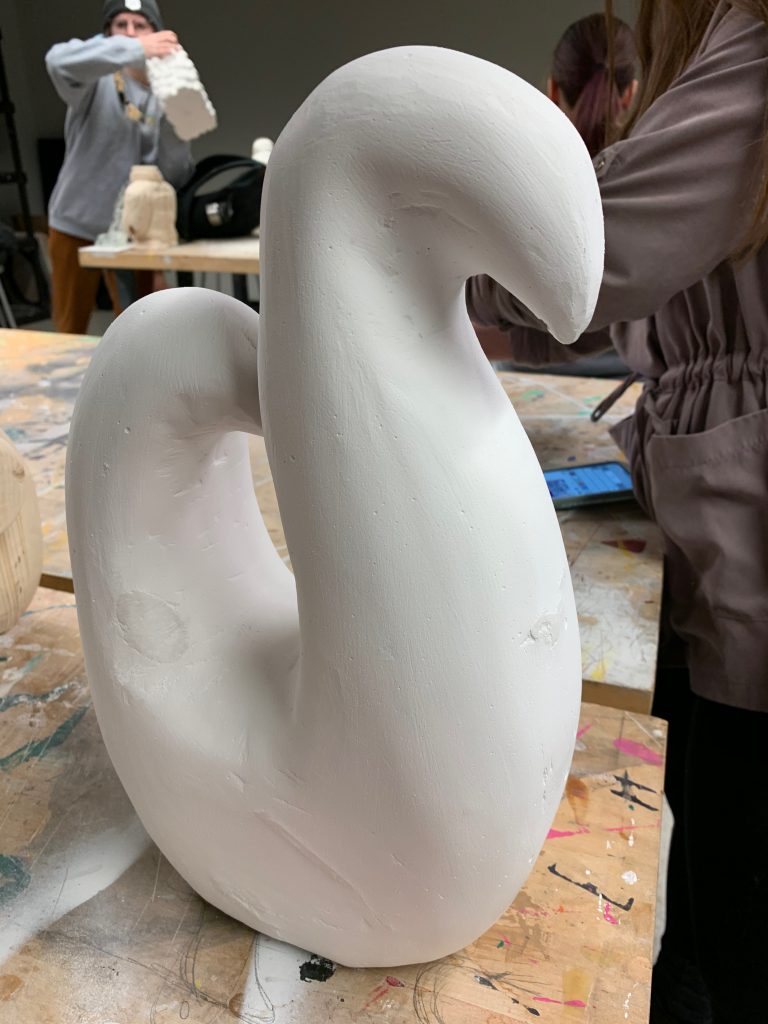
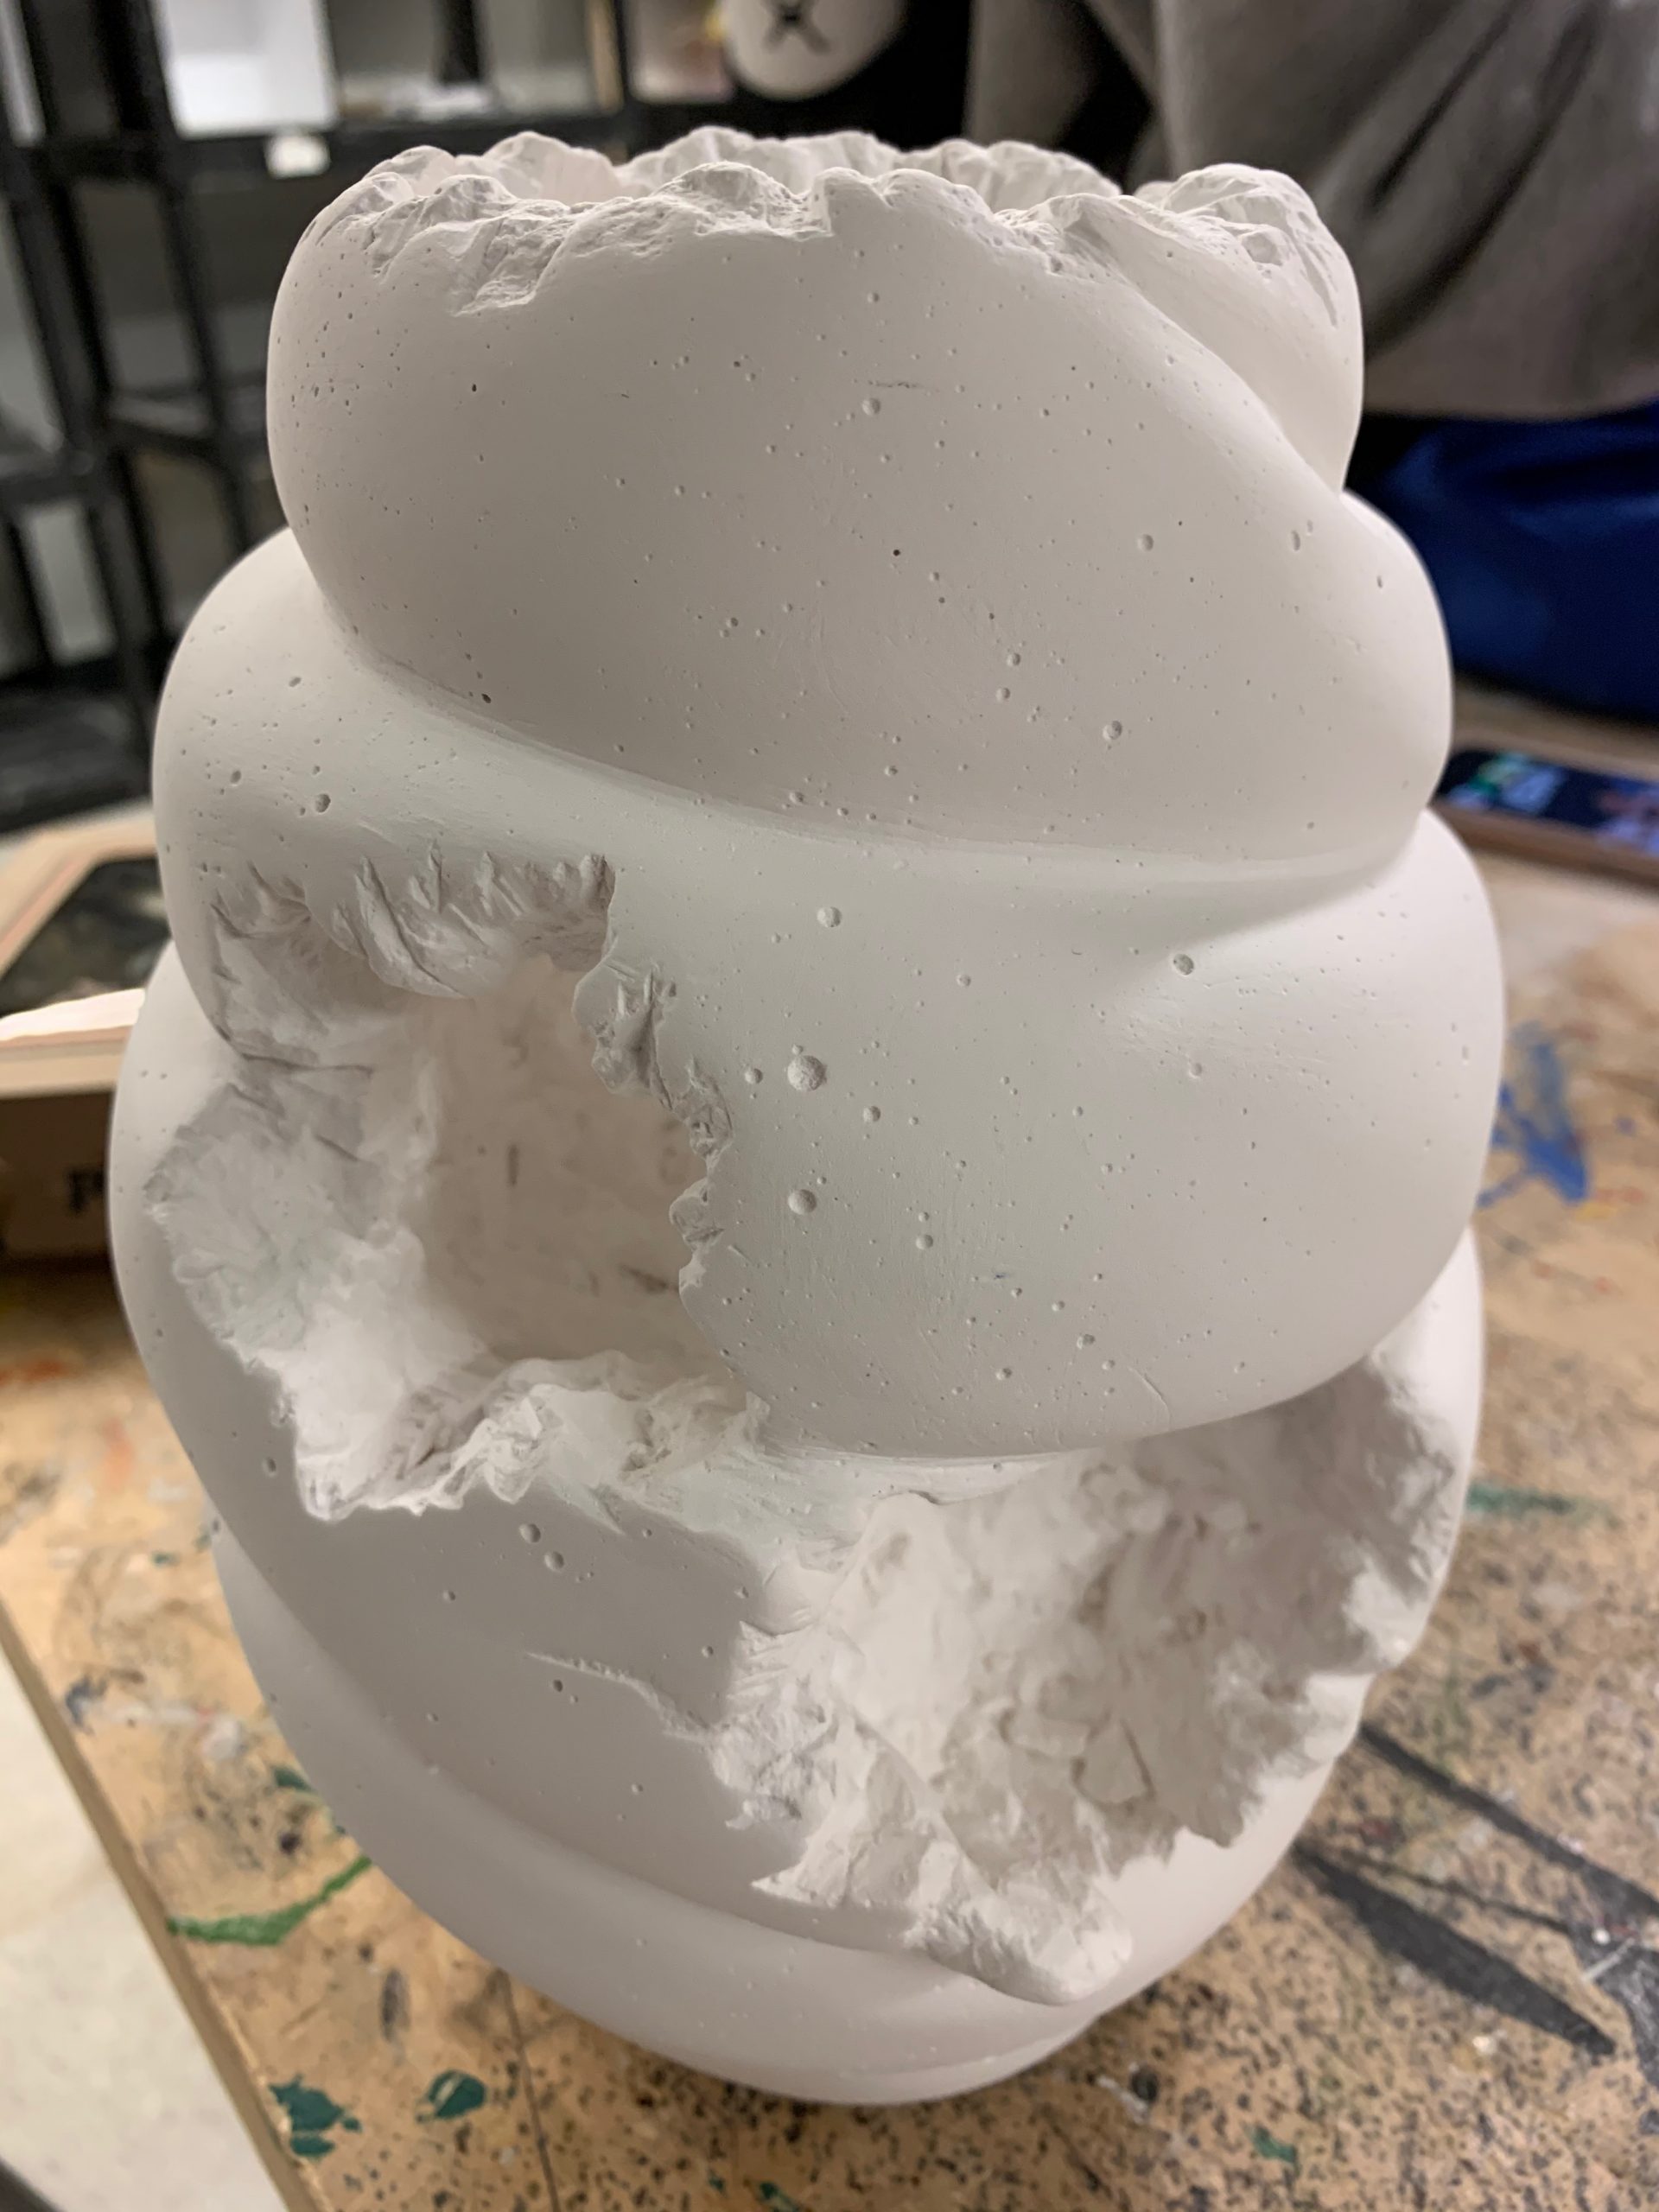
Examples